How to Create a New Profile
You will need to create a new profile sometimes if you need to have access to your own e-mail account but also maybe you're the manager of a project and you need direct access to another e-mail account as well. We do this by setting up a new profile. This is necessary, for instance, in those cases where you might want to be able to use Outlook to send mail directly from the other account instead of "on behalf of", or when you need to make changes in permissions and settings on the other account. In order to do this you must be in possession of the username and password for the desired account.
To create a new profile
Click on Start.
Click on Settings.
Click on Control Panel.
Click on Mail.
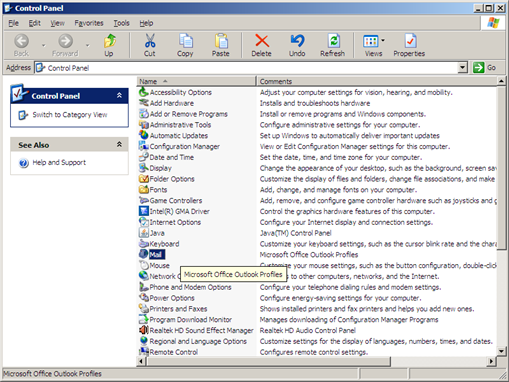
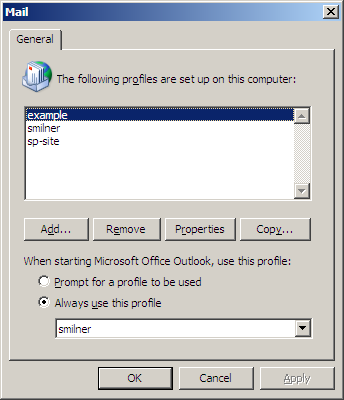
Click on Show Profiles.
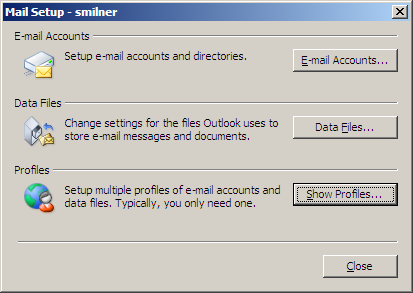
This is where you add the new profile.
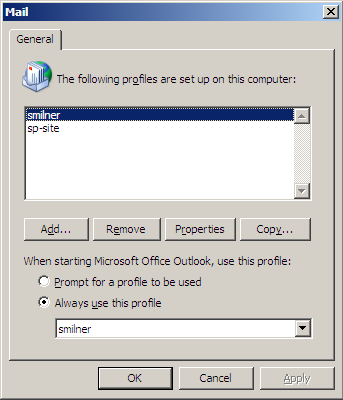
Click on Add.
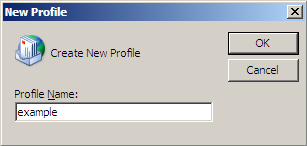
Type a name that makes sense to you and click OK.
Tick the ‘Manually configure server settings’ box at the bottom, then press Next to continue.
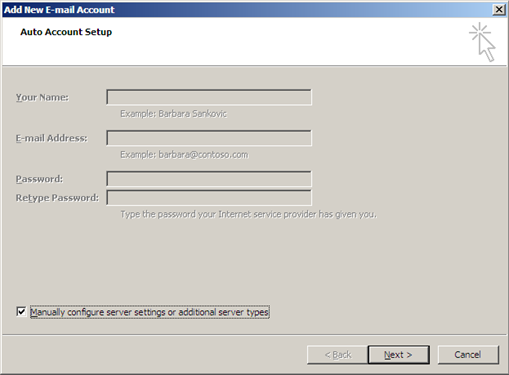
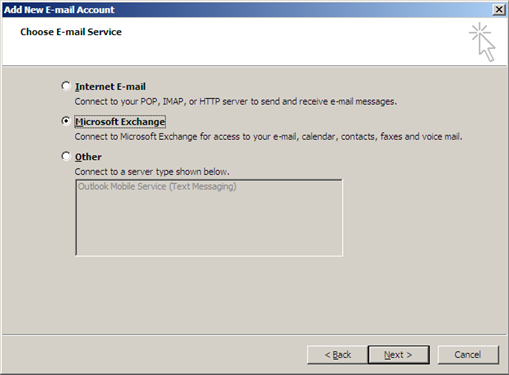
Select Microsoft Exchange, then click Next.
Next to the heading Microsoft Exchange server type in the name MAILSRV3 (the system will then determine automatically whether to enter MAILSRV3 or MAILSRV4 depending on where the mailbox is stored.)
IMPORTANT! Make sure to untick ‘Use Cached Exchange Mode’.
Next to the heading User Name type in the name of the account that you wish to open. For example if you were creating a new profile to use your own personal account you would put your name here.
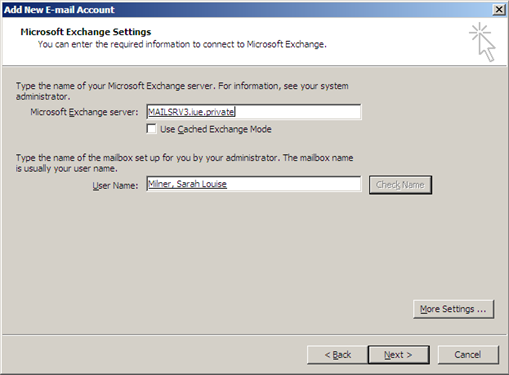
Click on Check Name just to make sure that Outlook can find the desired account. It may ask you for a username and password at this point. If so, type it in the following manner:
iuedom\username
password
Click on Next.
Click on Finish.
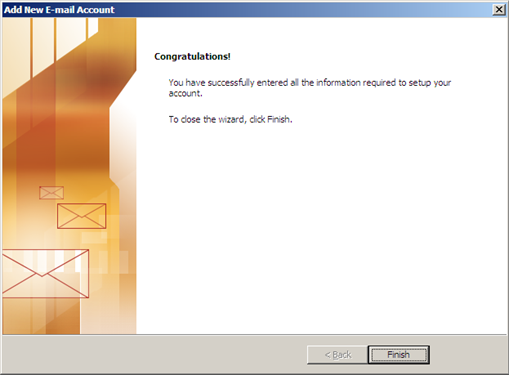
You have now successfully created a new profile. However, to use this new profile you have to make Outlook prompt you to choose a profile each time the program opens. To do this:
Open Mail again from the Control Panel.
Click on Show Profiles.
Select the option Prompt for a profile to be used.
Page last updated on 17 August 2017